
Description
Description:
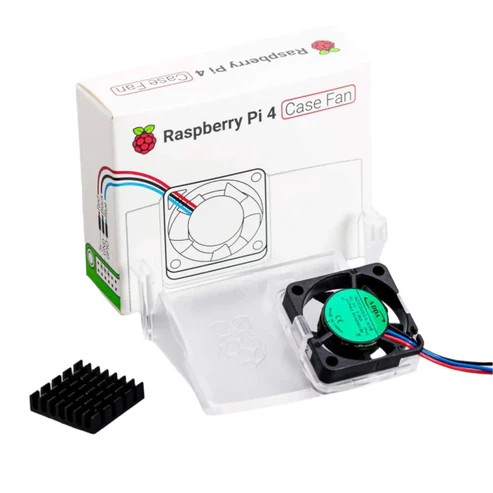
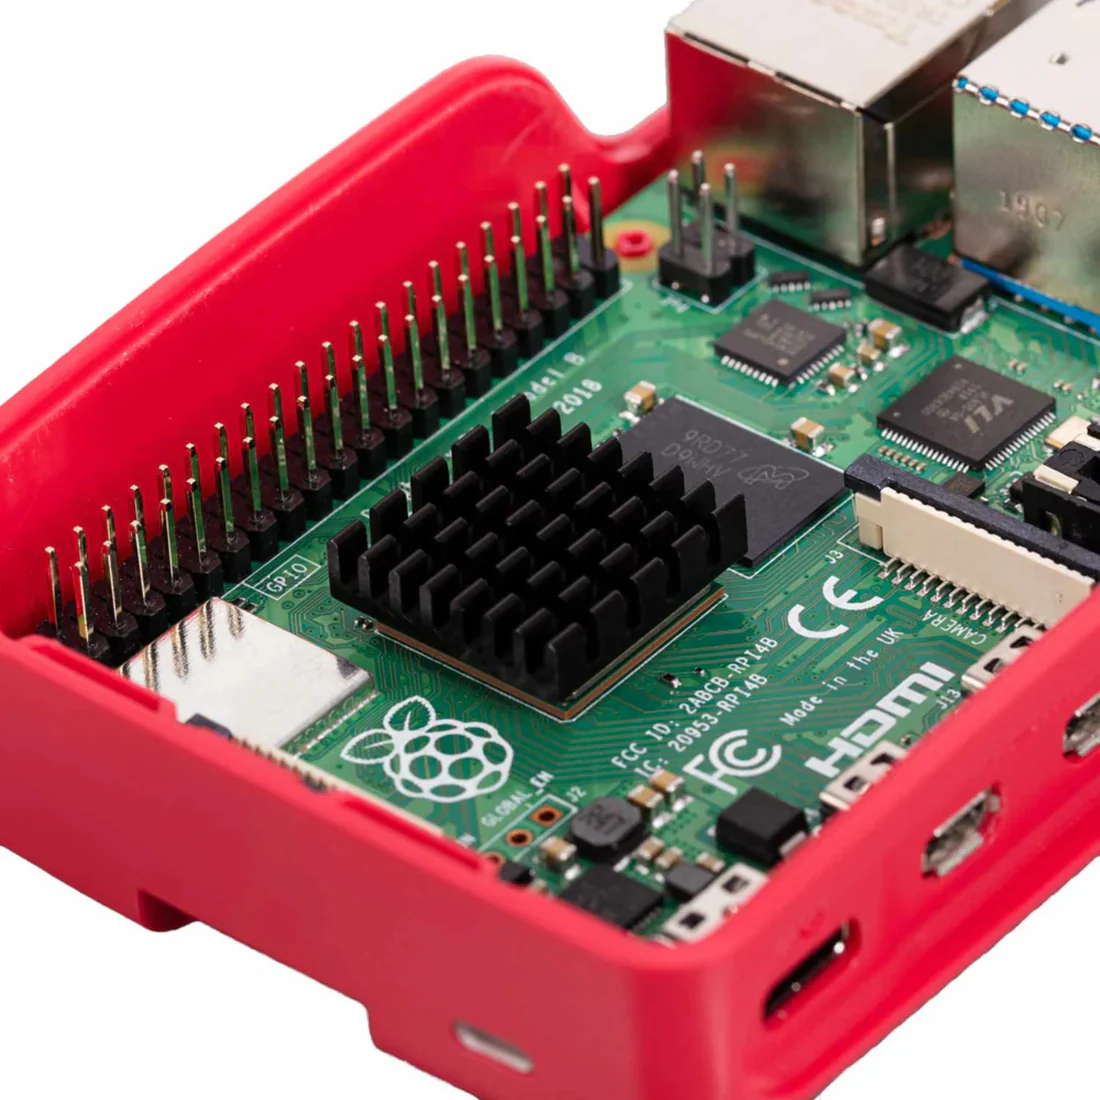
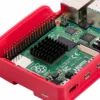
The Raspberry Pi case fan is the latest raspberry pi accessory that was launched and is best compatible for all Raspberry Pi 4 microcontrollers. It is designed by Raspberry Pi to give the optimum airflow for Raspberry Pi 4. This official Raspberry Pi case fan comes with a heatsink whith self adhesive feature that improves heat transfer from the processor.
Specification:
- Brand: Raspberry Pi
- Model number: TIFAC0091
- Power Connector Type: 2Pin
- Input voltage: 5V DC supplied via 40-pin GPIO header on Raspberry Pi 4
- Fan speed control: Pulse width modulation control via user-selectable GPIO pin
- Maximum airflow: 1.4 CFM
- Case material: Clear PC
Features:
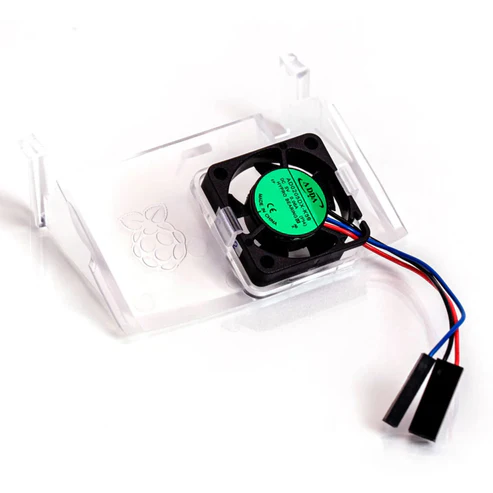
- Fits perfectly into the lid of the Raspberry Pi 4 Case
- Temperature-controlled fan delivers up to 1.4CFM of air flow over the processor, memory, and power management IC
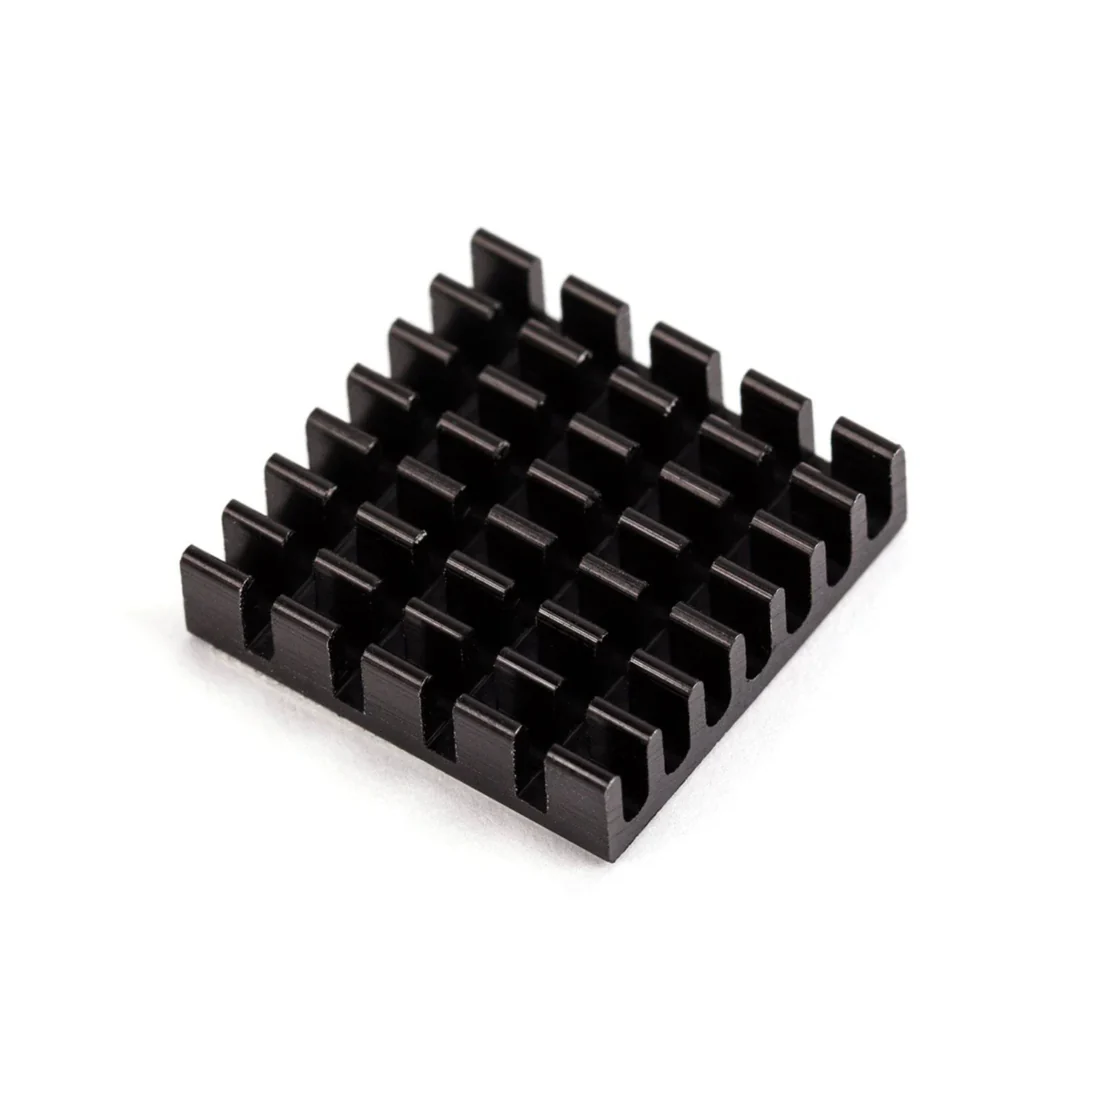
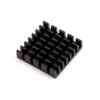
- 18mm × 18mm × 10mm heatsink with self-adhesive pad improves heat transfer from the processor
How To Assemble The Fan:
- Remove any SD card, then put your Raspberry Pi into the lower half (base) of your case. Take care to align the mounting holes in the corners with the bumps in the case.
- Insert the fan into the upper half (lid) of the case, with the green label facing away from the lid. Push gently but firmly so that the two tabs on the fan housing click neatly into place inside the tabs on the lid. The slightly curved edge of the housing should be flush with the underside of the lid.
- If you are fitting the heatsink, remove the backing paper from the self-adhesive pad on the base of the heatsink, position it centrally over the processor, and gently press it into position.
- Connect the three leads from the fan to the Raspberry Pi’s GPIO pins, as shown in the diagram below. Take care to connect each lead to the correct pin.
- Fit the lid of the case onto the base.

Using Your Fan
Once you have connected your fan, by default it will be on whenever your Raspberry Pi is running. You can configure it to turn on only when your Raspberry Pi reaches a temperature that you choose.
Using a recent version of Raspberry Pi OS, first update to retrieve any recent changes to the operating system:
- Open the Terminal, either from the Start menu (click the Raspberry Pi icon in the top left corner) or by pressing Control + Alt + T.
- Type sudo apt update and then, when the update has finished, type sudo apt full-upgrade.
Then open the Raspberry Pi Configuration tool:
- Click on the Raspberry Pi icon in the top left corner and select Preferences then Raspberry Pi Configuration.
- Select the Performance tab.
- Next to Fan, click Enabled.
- If you have connected your fan as shown above, the default of 14 for Fan GPIO does not need to be changed.
- Select the Fan Temperature at which you want your fan to turn on. The default is 80°C, which will stop the Raspberry Pi throttling on difficult tasks without having the fan on all the time.
Useful link:
Package Included:
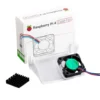
1 x Raspberry Pi 4 Case Fan Pi 4 Case Fan RPi 4 Case Fan Protect Your Raspberry Pi 4 From Overheating With A Case Fan


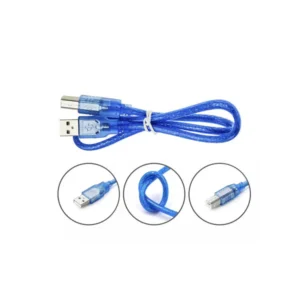 USB Type A-B Cable for Arduino UNO/MEGA - 30cm
  15A Test Lead Wire 4mm Banana Plug And Alligator/Crocodile Clip 15A Multimeter DIY Test Wires With Secure Connections - Blue
  XH-M602 Digital Battery Charger Controller Digital Battery Charger IC Module Efficient and Reliable Battery Charging Module For Overcharge Protection
 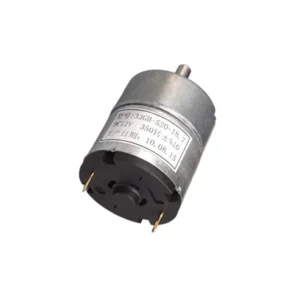 33GB-520 12V DC Gear Motor Speed Control Gear Motor High Torque 170-350RPM Gearbox Motor With Adjustable Speed Control For Industrial Applications
 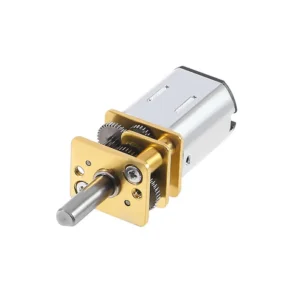 15 RPM N20 Gear Motor 3V Micro Metal Gear Motor Mini Gear Motor N20 Micro Gear Motor N20 3V 15RPM Gear Motor
 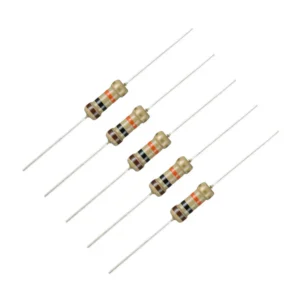 220 Ohm Resistor, 220 Ohm Resistance 1/4W Power Rating 5%
  4 x AA Battery Holder 1.5V AA Battery Box Without Cover Plastic Storage Box Case Holder - Black
 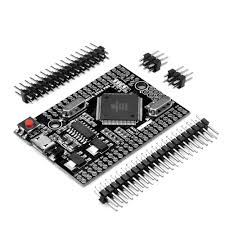 Mega Pro Mini MEGA2560 Pro ATMEGA2560-16AU USB CH340G Development Board
 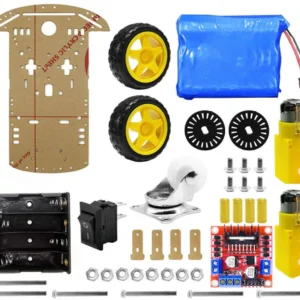 2 Wheel Smart Car Chassis Kit with Battery and L298N Motor Driver Module
Reviews
There are no reviews yet.