
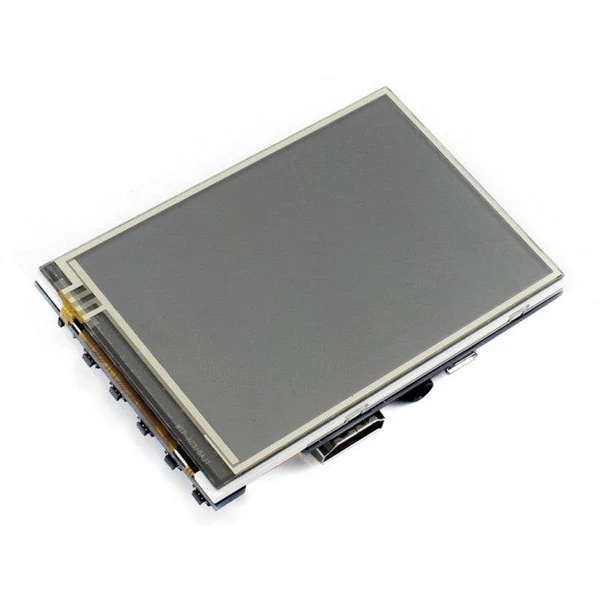
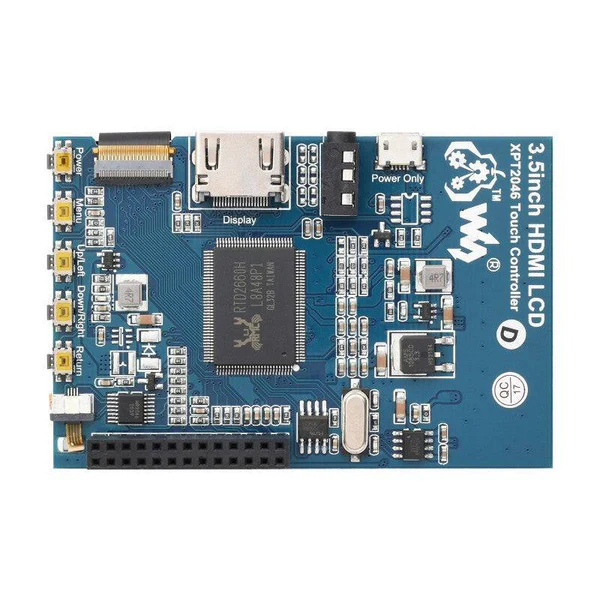
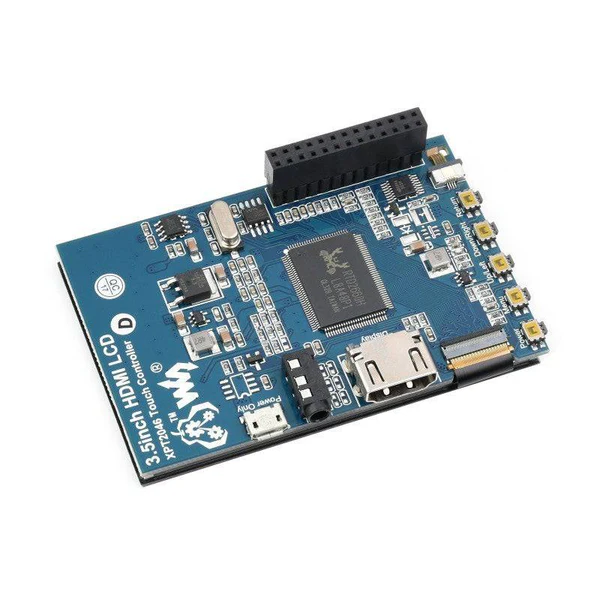
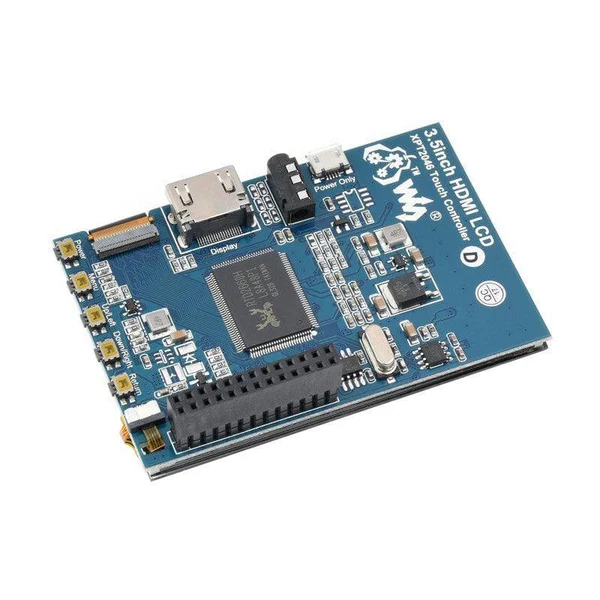
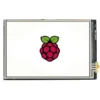
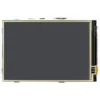
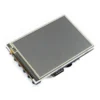
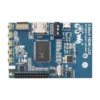
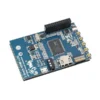
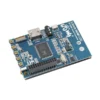
Description
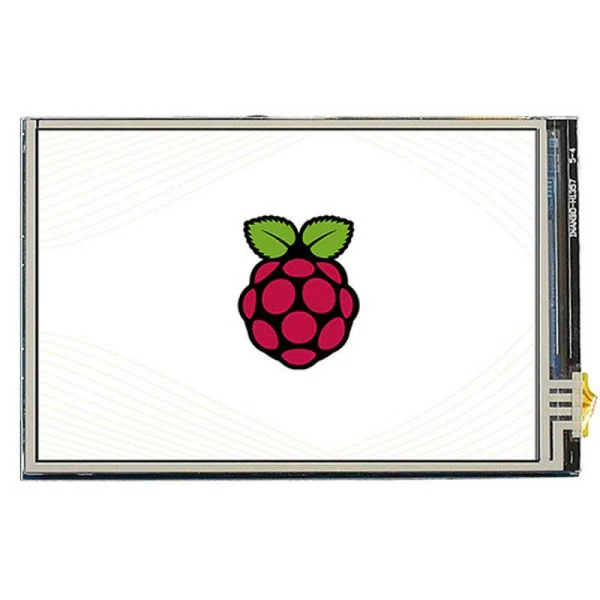
- 3.5inch IPS screen, 480 x 320 hardware resolution, which can be set by the software (up to 1920×1080).
- Resistive touch control.
- Compatible and Direct-connect with any revision of Raspberry Pi. (If you are using a Raspberry Pi Zero / Zero 2 W, an additional HDMI cable is required.)
- Supports Raspberry Pi OS / Ubuntu / Kali and Retropie systems.
- Also works as a computer monitor, in this case, the touch panel is unavailable and HDMI cable is required.
- When only used for display, does not occupy any I/O resources (using touch function will occupy I/O resources).
- Multi-languages OSD menu, for power management, brightness/contrast adjustment, etc.
- Supports HDMI audio output.
Description :
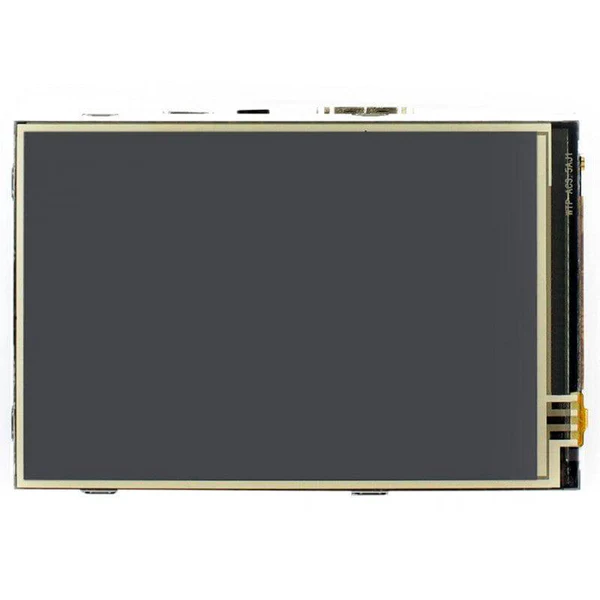
480 x 320, 3.5inch Resistive Touch Screen LCD, HDMI interface, IPS Screen, Designed for Raspberry Pi.
Features
- 3.5inch IPS screen, 480 x 320 hardware resolution, which can be set by the software (up to 1920×1080).
- Resistive touch control.
- Compatible and Direct-connect with any revision of Raspberry Pi. (If you are using a Raspberry Pi Zero / Zero 2 W, an additional HDMI cable is required.)
- Supports Raspberry Pi OS / Ubuntu / Kali and Retropie systems.
- Also works as a computer monitor, in this case, the touch panel is unavailable and HDMI cable is required.
- When only used for display, does not occupy any I/O resources (using touch function will occupy I/O resources).
- Multi-languages OSD menu, for power management, brightness/contrast adjustment, etc.
- Supports HDMI audio output.
Hardware Connection
1. Connect the GPIO interface
Raspberry Pi leads out 40 GPIO pins, while the screen leads out 26 pins. When connecting, pay attention to the corresponding pins and Raspberry Pi pins.
2. Connect the HDMI connector to the HDMI port of the screen and the Pi.
3. Turn the Backlight on the back of the LCD to “ON”.
Note: Raspberry Pi Zero / Zero 2 W needs an additional HDMI cable for connection.
The hardware connection is as shown below (Pi 4 and Pi 3B+):
Software Setting
This LCD can support Raspberry Pi OS / Ubuntu / Kali / Retropie systems.
Please download the latest version of the image on the Raspberry Pi official website.
1) Download the compressed file to the PC, and unzip it to get the .img file.
2) Connect the TF card to the PC, use SDFormatter software to format the TF card.
3) Open the Win32DiskImager software, select the system image downloaded in step 1, and click ‘Write’ to write the system image.
4) After the image has finished writing, open the config.txt file in the root directory of the TF card, add the following code at the end of config.txt, then save and quit the TF card safely.
hdmi_group=2
hdmi_mode=87
#Display with 800*480 resolution
hdmi_cvt 800 480 60 6 0 0 0
#Use 480*320 resolution display, you need to add the following 3 lines of code
#hdmi_pixel_freq_limit=20000000
#hdmi_cvt 480 320 60 6 0 0 0
#hdmi_drive=1
dtoverlay=ads7846,cs=1,penirq=25,penirq_pull=2,speed=50000,keep_vref_on=0,swapxy=0,pmax=255,xohms=150,xmin=200,xmax=3900,ymin=200,ymax= 3900
5) Insert the TF card into the Raspberry Pi, power on the Raspberry Pi, and wait for more than 10 seconds to display normally. But the touch is abnormal at that time, and the touch needs to be calibrated as the following steps.
Note: Raspberry Pi OS Bullseye branch system, since dtoverlay=vc4-kms-v3d is loaded by default, it is invalid to modify the resolution in /boot/config.txt. If you need to modify the resolution, you need to change it to dtoverlay=vc4-fkms -v3d.
Touch calibration
The display can be calibrated via xinput-calibrator.
1. Execute the following command to install the relevant software:
sudo apt-get install xserver-xorg-input-evdev xinput-calibrator
If the execution fails, you can check here#Some possible problems
2. Execute the following commands:
sudo cp -rf /usr/share/X11/xorg.conf.d/10-evdev.conf /usr/share/X11/xorg.conf.d/45-evdev.conf
sudo nano /usr/share/X11/xorg.conf.d/99-calibration.conf
Add the following code to 99-calibration.conf:
Section "InputClass"
        Identifier      "calibration"
        MatchProduct    "ADS7846 Touchscreen"
        Option  "Calibration"   "190 3991 243 3895"
        Option  "SwapAxes"      "0"
        Option "EmulateThirdButton" "1"
        Option "EmulateThirdButtonTimeout" "1000"
        Option "EmulateThirdButtonMoveThreshold" "300"
EndSection
3. After reboot, touch will work normally under normal circumstances. But for different resistance screens, the accuracy of using the default calibration parameters may not be very suitable.
You can perform touch calibration by clicking the Raspberry Pi icon on the taskbar, selecting Preferences -> Calibrate Touchscreen, and following the displayed prompts.
4. After calibration, the following data will be displayed. If you want to save these touch values, you can replace the data in the red circle with the data in the corresponding position in 99-calibration.conf.
Package Included:
- 3.5inch HDMI LCD x1
- HDMI to micro HDMI connector x1
- HDMI connector x1
- Stylus x1
- Aluminium heat sink x1
- Quick start sheet x1


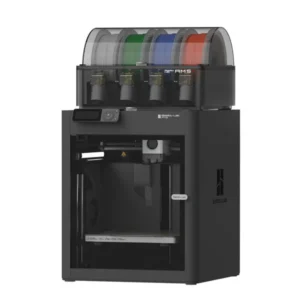 Bambu Lab P1S Combo P1S 3D Printer and AMS
  CR 10 SE 3D Printer
 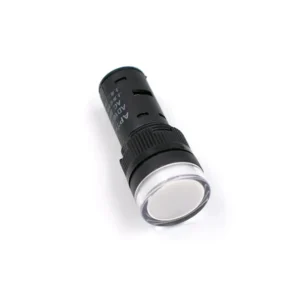 AD16-16C LED Pilot Light AC220V 16mm LED Power Pilot Light AC220V Panel Mount LED Indicator Light Compact and Durable Power Pilot Light - White
 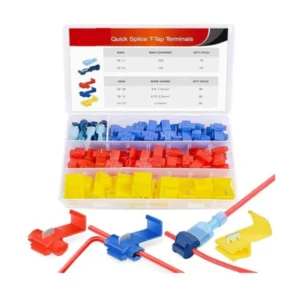 65-Pieces T-Tap Wire Connector Kit Insulated Wire Connector 22-18, 18-14, 12-10 AWG Assortment Kit For Fast & Reliable Wiring
 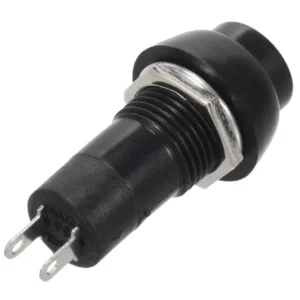 PBS-11B Round Plastic Self-Reset Switch 12mm 2-Pin Momentary Push Button Switch For Quick On/Off Control
 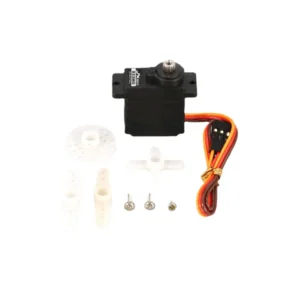 JX Servo PDI-933MG 3.3kg Large Torque Metal Gear Digital Servo For RC Models Accessories
 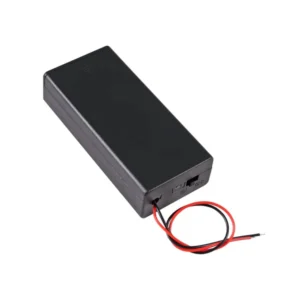 2x18650 Battery Holder 18650 x 2 Battery Holder with Cover and On/Off Switch With Open End Wires
 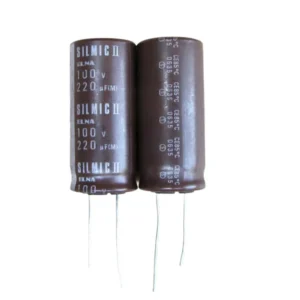 220uF 100V Elna Silmic ARS Audio Capacitors
 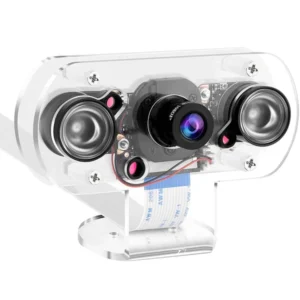 Raspberry Pi 4B Camera IR Camera Module With Holder and Cable IR Camera Module 75 Degree 5MP OV5647 Webcam Automatically Switching Between Day Vision and Night Visio For Raspberry Pi 4B 3B+ 2B+ Zero and Zero W
  Official Raspberry Pi 5 Case Red and White Raspberry Pi 5 ABS Case Raspberry Pi 5 Active Cooling PWM Fan Protection
  FlySky Data Line Cable Access Wiring Connector for T6 i6, FS-i6, FS-T6 Transmitter
  Universal GPS Mount Universal GPS Folding Antenna Base Set, GPS Fixed Mount Base Antenna Signal Foldable Seat For Quadcopter Racing Drone
 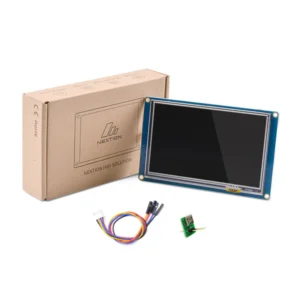 Nextion NX8048T050 5.0" HMI Touch Display 5-inch Basic Series Display Touchscreen Display for Arduino Raspberry Pi
 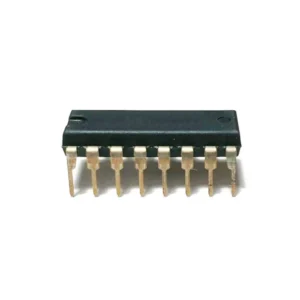 CD4504 IC Hex Voltage Level Shifter IC DIP-16 Package
 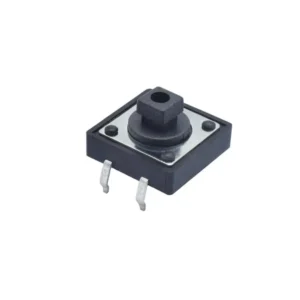 Push Button 12x12x7.3mm Tactile 4 Pin Push Button Switch
  Official Raspberry Pi 3 Case Pi 3 Official Case Protective Enclosure ABS Case for Raspberry Pi 3B/ Pi 3B+ Black
 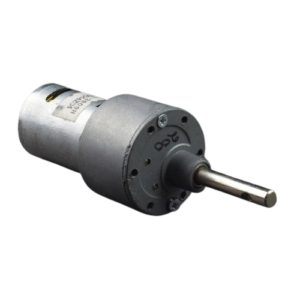 12V 200 RPM Geared Motor Johnson DC Gearbox Motor High-Torque 200 RPM Geared Motor High-Performance 100 RPM DC Geared Motor
 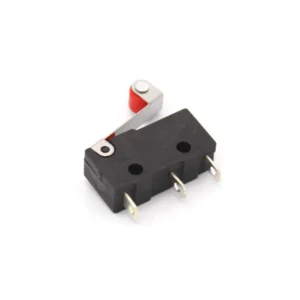 Generic Micro Endstop Switch Micro Switch Mechanical End Stop AC 250V 5A SPDT Miniature NO/NC Switch For Reprap 3D Printer/CNC/DIY
 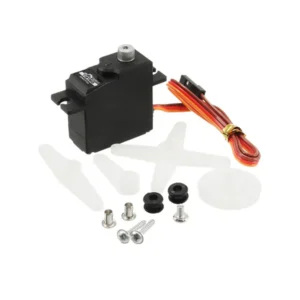 JX Servo PDI-1181MG 17.5g Metal Gear Digital Servo For 1/8 1/10 Scale RC Car Boat Robot Arm Helicopter Airplane
 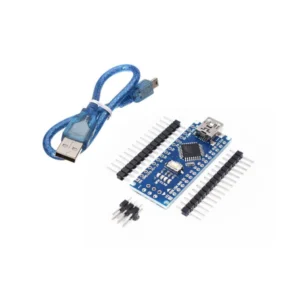 ARDUIN0 Nano V3.0, Nano Board ATmega328P 5V 16M Micro-Controller Board with USB Cable
  Official Raspberry Pi 4 Case Raspberry Pi Case Protective Case for Raspberry Pi 4 Model B 1GB, 2GB, 4GB, 8GB (Black & Grey)
 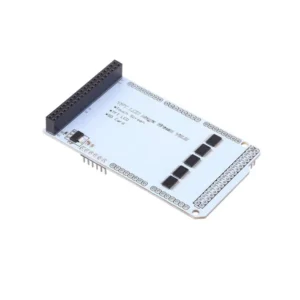 MEGA TFT LCD Expansion Board TFT LCD Expansion Shield V2.2 for Arduino MEGA
 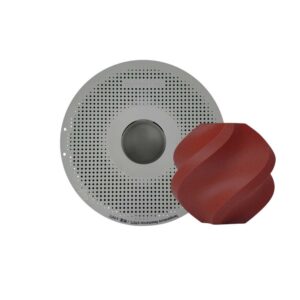 Bambu Lab PETG-CF 3D Printer Filament 1.75mm Brick Red
 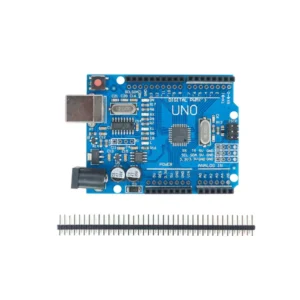 SMD UNO R3 Arduino Compatible ATmega328 Board UNO R3 SMD Development Board CH340G SMD UNO Board
 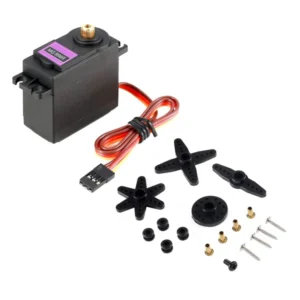 MG996R Servo Motor MG996R Metal Gear Servo Motor - 180 Degree
  Seiko Protection IC 10A Protection Board Seiko Protection Board Seiko 3S 10A Lipo Battery Protection For 3S 11.1V 12V 12.6V 18650 Lipo Battery
  Pixhawk Buzzer Pixhawk Flight Controller Passive Buzzer
Reviews
There are no reviews yet.