
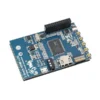
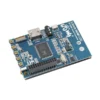
Description
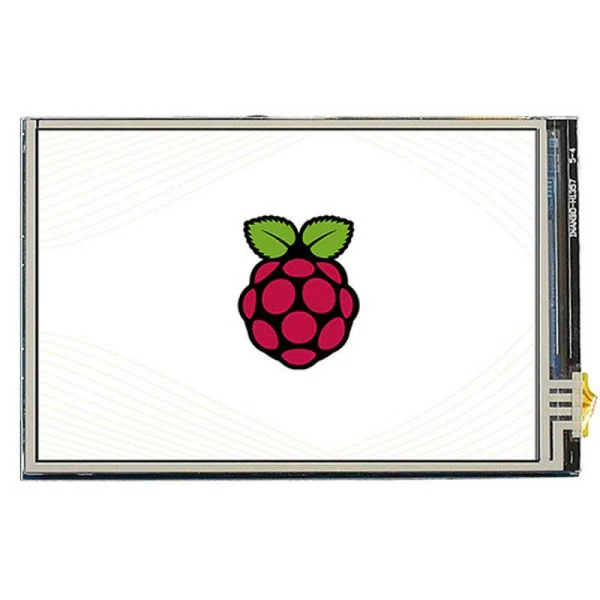
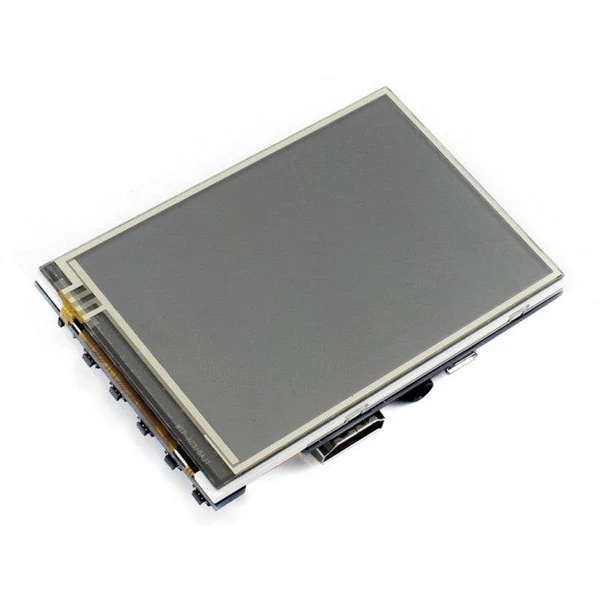
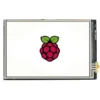
- 3.5inch IPS screen, 480 x 320 hardware resolution, which can be set by the software (up to 1920×1080).
- Resistive touch control.
- Compatible and Direct-connect with any revision of Raspberry Pi. (If you are using a Raspberry Pi Zero / Zero 2 W, an additional HDMI cable is required.)
- Supports Raspberry Pi OS / Ubuntu / Kali and Retropie systems.
- Also works as a computer monitor, in this case, the touch panel is unavailable and HDMI cable is required.
- When only used for display, does not occupy any I/O resources (using touch function will occupy I/O resources).
- Multi-languages OSD menu, for power management, brightness/contrast adjustment, etc.
- Supports HDMI audio output.
Description :
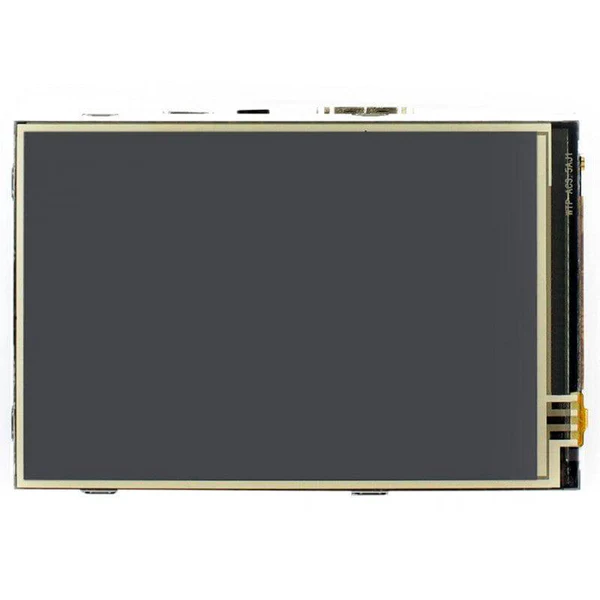
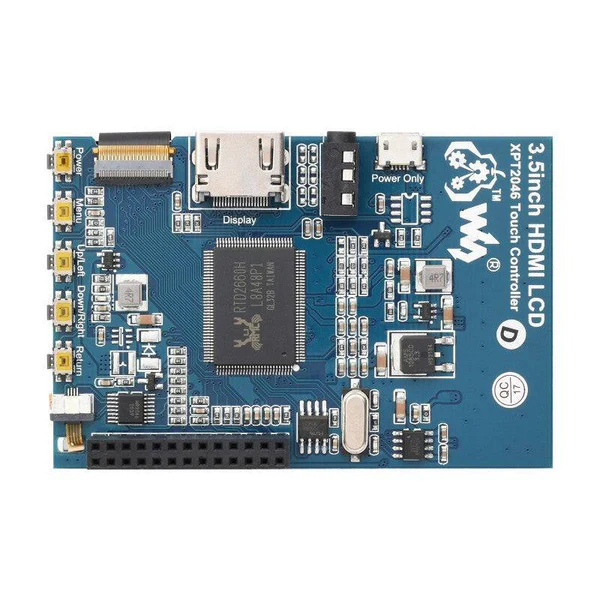
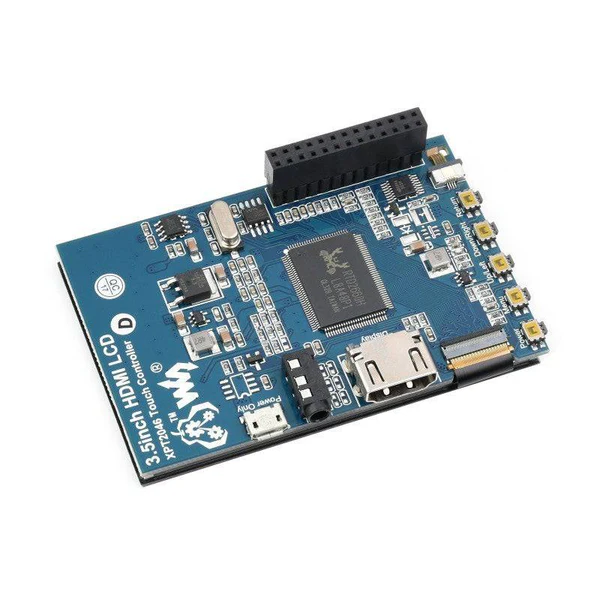
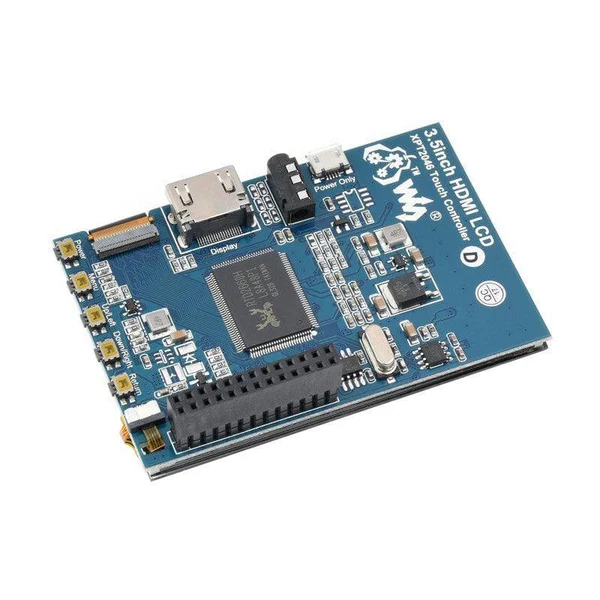
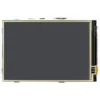
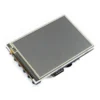
480 x 320, 3.5inch Resistive Touch Screen LCD, HDMI interface, IPS Screen, Designed for Raspberry Pi.
Features
- 3.5inch IPS screen, 480 x 320 hardware resolution, which can be set by the software (up to 1920×1080).
- Resistive touch control.
- Compatible and Direct-connect with any revision of Raspberry Pi. (If you are using a Raspberry Pi Zero / Zero 2 W, an additional HDMI cable is required.)
- Supports Raspberry Pi OS / Ubuntu / Kali and Retropie systems.
- Also works as a computer monitor, in this case, the touch panel is unavailable and HDMI cable is required.
- When only used for display, does not occupy any I/O resources (using touch function will occupy I/O resources).
- Multi-languages OSD menu, for power management, brightness/contrast adjustment, etc.
- Supports HDMI audio output.
Hardware Connection
1. Connect the GPIO interface
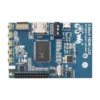
Raspberry Pi leads out 40 GPIO pins, while the screen leads out 26 pins. When connecting, pay attention to the corresponding pins and Raspberry Pi pins.
2. Connect the HDMI connector to the HDMI port of the screen and the Pi.
3. Turn the Backlight on the back of the LCD to “ON”.
Note: Raspberry Pi Zero / Zero 2 W needs an additional HDMI cable for connection.
The hardware connection is as shown below (Pi 4 and Pi 3B+):
Software Setting
This LCD can support Raspberry Pi OS / Ubuntu / Kali / Retropie systems.
Please download the latest version of the image on the Raspberry Pi official website.
1) Download the compressed file to the PC, and unzip it to get the .img file.
2) Connect the TF card to the PC, use SDFormatter software to format the TF card.
3) Open the Win32DiskImager software, select the system image downloaded in step 1, and click ‘Write’ to write the system image.
4) After the image has finished writing, open the config.txt file in the root directory of the TF card, add the following code at the end of config.txt, then save and quit the TF card safely.
hdmi_group=2
hdmi_mode=87
#Display with 800*480 resolution
hdmi_cvt 800 480 60 6 0 0 0
#Use 480*320 resolution display, you need to add the following 3 lines of code
#hdmi_pixel_freq_limit=20000000
#hdmi_cvt 480 320 60 6 0 0 0
#hdmi_drive=1
dtoverlay=ads7846,cs=1,penirq=25,penirq_pull=2,speed=50000,keep_vref_on=0,swapxy=0,pmax=255,xohms=150,xmin=200,xmax=3900,ymin=200,ymax= 3900
5) Insert the TF card into the Raspberry Pi, power on the Raspberry Pi, and wait for more than 10 seconds to display normally. But the touch is abnormal at that time, and the touch needs to be calibrated as the following steps.
Note: Raspberry Pi OS Bullseye branch system, since dtoverlay=vc4-kms-v3d is loaded by default, it is invalid to modify the resolution in /boot/config.txt. If you need to modify the resolution, you need to change it to dtoverlay=vc4-fkms -v3d.
Touch calibration
The display can be calibrated via xinput-calibrator.
1. Execute the following command to install the relevant software:
sudo apt-get install xserver-xorg-input-evdev xinput-calibrator
If the execution fails, you can check here#Some possible problems
2. Execute the following commands:
sudo cp -rf /usr/share/X11/xorg.conf.d/10-evdev.conf /usr/share/X11/xorg.conf.d/45-evdev.conf
sudo nano /usr/share/X11/xorg.conf.d/99-calibration.conf
Add the following code to 99-calibration.conf:
Section "InputClass"
        Identifier      "calibration"
        MatchProduct    "ADS7846 Touchscreen"
        Option  "Calibration"   "190 3991 243 3895"
        Option  "SwapAxes"      "0"
        Option "EmulateThirdButton" "1"
        Option "EmulateThirdButtonTimeout" "1000"
        Option "EmulateThirdButtonMoveThreshold" "300"
EndSection
3. After reboot, touch will work normally under normal circumstances. But for different resistance screens, the accuracy of using the default calibration parameters may not be very suitable.
You can perform touch calibration by clicking the Raspberry Pi icon on the taskbar, selecting Preferences -> Calibrate Touchscreen, and following the displayed prompts.
4. After calibration, the following data will be displayed. If you want to save these touch values, you can replace the data in the red circle with the data in the corresponding position in 99-calibration.conf.
Package Included:
- 3.5inch HDMI LCD x1
- HDMI to micro HDMI connector x1
- HDMI connector x1
- Stylus x1
- Aluminium heat sink x1
- Quick start sheet x1



 Arduino MEGA 2560 R3 CH340 Board ATmega2560 Development Board Arduino Compatible
  Ender-3 V3 Plus 3D Printer
  Royal Blue PLA PRO+
  9443 Carbon Fiber Propeller CW-CCW For DJI Quadcopter 9.4x4.3 Propeller
  Nano Expansion Shield Nano 328P Expansion Adapter Breakout Board IO Shield
  10x15mm Cable Drag Chain 10 x 15mm 1m Cable Drag Chain Wire Carrier
  XH-M602 Digital Battery Charger Controller Digital Battery Charger IC Module Efficient and Reliable Battery Charging Module For Overcharge Protection
  Dual Shaft BO Motor 150 RPM
  White 8-Bit 5050 RGB LED Pipeline Lamp WS2811 RGB LED Module 105x10mm RGB LED Pipeline Lamp Module
  3mm LED Holder With 4 Mounting Holes & Yellow LED, Panel Mount LED Indicator, PACK OF 5
  1200TVL CMOS FPV Camera High Definition 2.1mm Lens Camera RC Drone Camera Multi-Copter Camera for FPV Racing RC Drone FPV Camera For Aerial Photography And Videography
  3296W Potentiometer Variable Resistor Kit 1K-1M Multi-Turn Trimmer DIY Electronics Kit Trimmer Potentiometer Build Your Own Trimmer Pot Variable Resistor DIY Kit Electronics DIY Projects
  Waveshare 15.6" Full HD IPS Monitor 100% sRGB Color Accuracy, 1920x1080 IPS Display, Slim Profile With Adjustable Stand For Stunning Clarity
  Creality Ender 3 V3 3D Printer
  Raspberry Pi OV5647 Camera 5MP 1080P IR-Cut Camera Module for Raspberry Pi 3/4 Raspberry Pi Camera Module with Manual Day/Night Mode High-Resolution IR-Cut Camera for Raspberry Pi Projects
  Bambu Lab TPU 95A HF 1.75mm 3D Filament Blue
 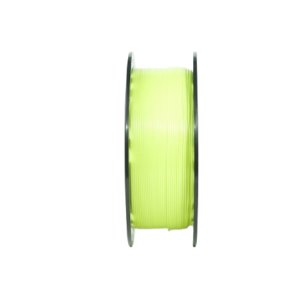 Lime Green PLA PRO+
 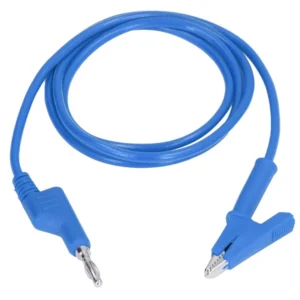 15A Test Lead Wire 4mm Banana Plug And Alligator/Crocodile Clip 15A Multimeter DIY Test Wires With Secure Connections - Blue
  BMS Board 1S 3.7V 2.5A Lithium Battery Protection Board Polymer BMS PCM PCB Over Charge Discharge Li-ion Protect Module
  Bambu Lab A1 Mini 3D Printer
 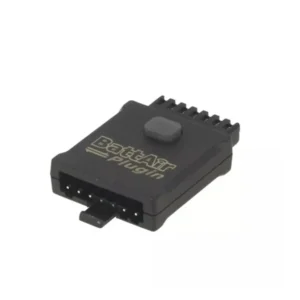 ISDT BAP6 BattAir Plugin 5-6S RC Batteries BattAir Plugin C For Smart Battery Management
 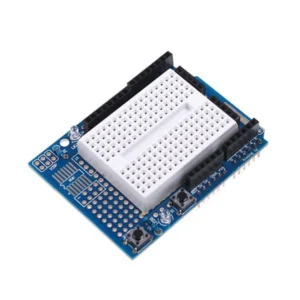 Arduino Uno Prototype Shield Protoshield Expansion Board Module With Mini Breadboard Compatible With Arduino
  20×4 LCD Display 20×4 Character LCD Display with Yellow Backlight - Alphanumeric
  Generic Micro Endstop Switch Micro Switch Mechanical End Stop AC 250V 5A SPDT Miniature NO/NC Switch For Reprap 3D Printer/CNC/DIY
  XT60 Connector Plug XT60 Series Adaptor Connection Plug
  F450 Quadcopter Frame Q450 Drone Frame F450 Tri-Color Drone Frame with PCB Board VT400 - MADE IN INDIA
Reviews
There are no reviews yet.