


Description
Description:
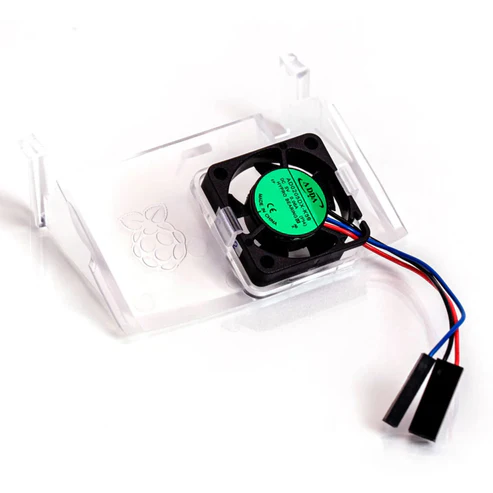
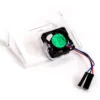
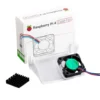
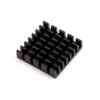
The Raspberry Pi case fan is the latest raspberry pi accessory that was launched and is best compatible for all Raspberry Pi 4 microcontrollers. It is designed by Raspberry Pi to give the optimum airflow for Raspberry Pi 4. This official Raspberry Pi case fan comes with a heatsink whith self adhesive feature that improves heat transfer from the processor.
Specification:
- Brand: Raspberry Pi
- Model number: TIFAC0091
- Power Connector Type: 2Pin
- Input voltage: 5V DC supplied via 40-pin GPIO header on Raspberry Pi 4
- Fan speed control: Pulse width modulation control via user-selectable GPIO pin
- Maximum airflow: 1.4 CFM
- Case material: Clear PC
Features:
- Fits perfectly into the lid of the Raspberry Pi 4 Case
- Temperature-controlled fan delivers up to 1.4CFM of air flow over the processor, memory, and power management IC
- 18mm × 18mm × 10mm heatsink with self-adhesive pad improves heat transfer from the processor
How To Assemble The Fan:
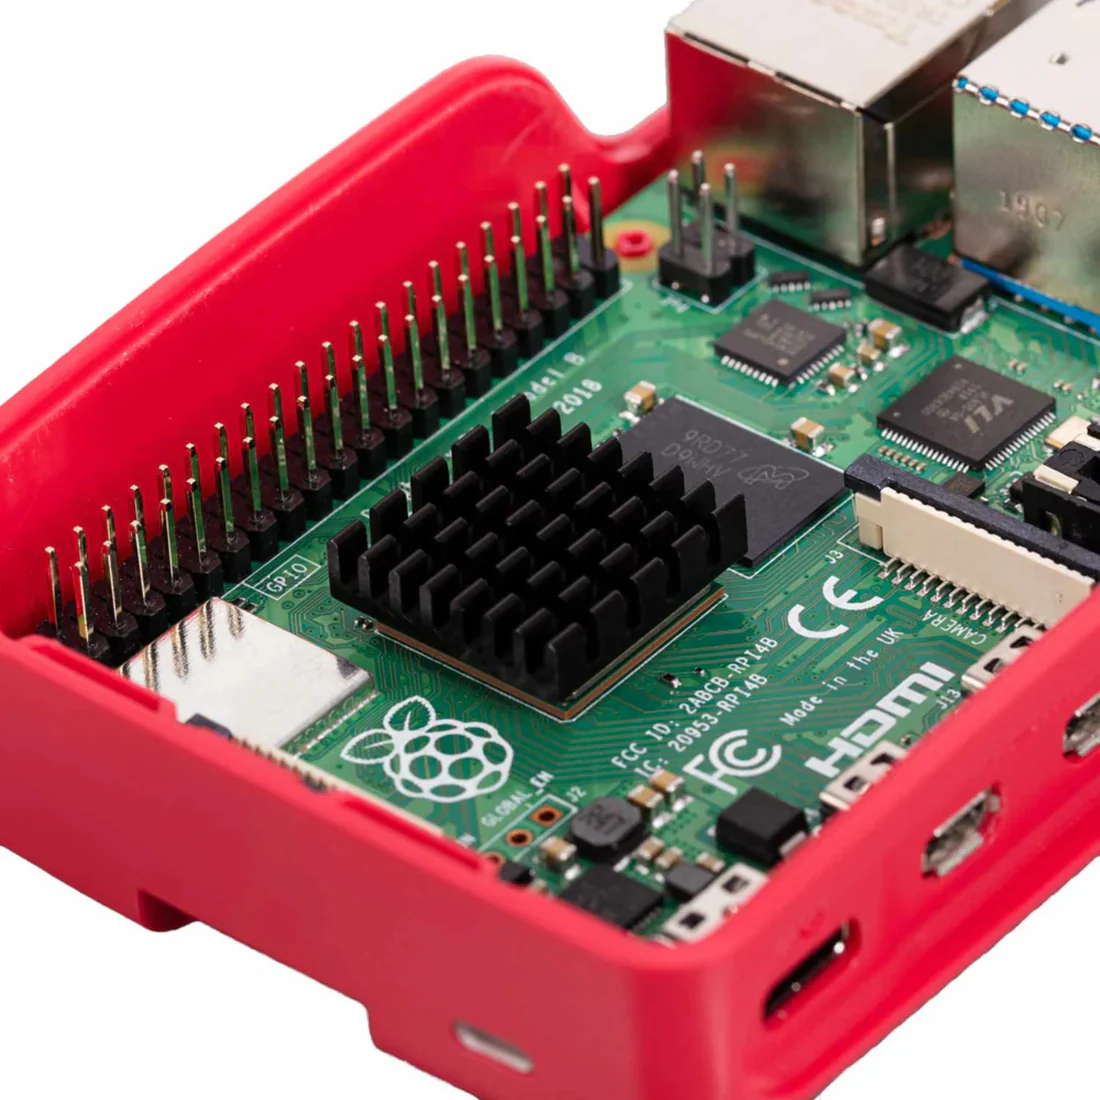
- Remove any SD card, then put your Raspberry Pi into the lower half (base) of your case. Take care to align the mounting holes in the corners with the bumps in the case.
- Insert the fan into the upper half (lid) of the case, with the green label facing away from the lid. Push gently but firmly so that the two tabs on the fan housing click neatly into place inside the tabs on the lid. The slightly curved edge of the housing should be flush with the underside of the lid.
- If you are fitting the heatsink, remove the backing paper from the self-adhesive pad on the base of the heatsink, position it centrally over the processor, and gently press it into position.
- Connect the three leads from the fan to the Raspberry Pi’s GPIO pins, as shown in the diagram below. Take care to connect each lead to the correct pin.
- Fit the lid of the case onto the base.

Using Your Fan
Once you have connected your fan, by default it will be on whenever your Raspberry Pi is running. You can configure it to turn on only when your Raspberry Pi reaches a temperature that you choose.
Using a recent version of Raspberry Pi OS, first update to retrieve any recent changes to the operating system:
- Open the Terminal, either from the Start menu (click the Raspberry Pi icon in the top left corner) or by pressing Control + Alt + T.
- Type sudo apt update and then, when the update has finished, type sudo apt full-upgrade.
Then open the Raspberry Pi Configuration tool:
- Click on the Raspberry Pi icon in the top left corner and select Preferences then Raspberry Pi Configuration.
- Select the Performance tab.
- Next to Fan, click Enabled.
- If you have connected your fan as shown above, the default of 14 for Fan GPIO does not need to be changed.
- Select the Fan Temperature at which you want your fan to turn on. The default is 80°C, which will stop the Raspberry Pi throttling on difficult tasks without having the fan on all the time.
Useful link:
Package Included:
1 x Raspberry Pi 4 Case Fan Pi 4 Case Fan RPi 4 Case Fan Protect Your Raspberry Pi 4 From Overheating With A Case Fan


 2 Pin 7-Colour LED Transparent 5mm Water Clear RGB LED Flashing Round LED Light Emitting Diode High Brightness
  Radiolink Byme-DB Flight Controller, 3 axis Gyro stabilizer RC Plane Gyroscope, 4 CH 3 Flight Modes FC, Applicable for Delta Wing, Paper Plane, J10, SU27, F22, for Beginner and Experienced
  30A Brushed ESC Electronic Speed Controller No Brake Brushed Motor Controller 30A 4-8V ESC Two Way RC 1/16 1/18 1/24 Car Boat Tank Brushed Motor Speed Controller
  2 Pin Female JST Connector 2 Pin Battery Connector for JST RCY Plug Female Connectors Wire for RC Toys Battery
  10x15mm Cable Drag Chain 10 x 15mm 1m Cable Drag Chain Wire Carrier
  1045 Propeller 10*4.5 inch Propeller 10x4.5 CW CCW Propeller Pair for Quadcopter
  Bambu Lab PETG-CF 3D Printer Filament 1.75mm Brick Red
 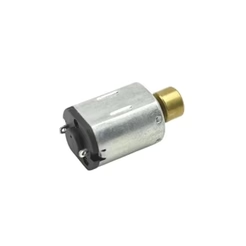 N20 3V Vibration Motor Compact DC Vibration Motor With Counter Weight Vibration Motor For Electronics High-Performance Vibration Motor Powerful Small Vibration Motor For Wearable Devices
 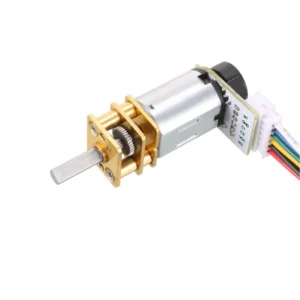 N20 Micro Gear Motor N20 12V 200 RPM Micro Metal Gear Motor With Encoder
  Bambu Lab A1 3D Printer
  L298N Based Dual Motor Driver Speed And Direction Control Raspberry Pi-Controlled Dual Motor Driver Motor Driver Circuit Build Your Own Robot
  12V/6A Automatic Motorcycle Battery Charger With Pulse Repair & LED Screen Multiple Charging Modes Smart & Automatic Trickle Charger For Lead-Acid Batteries
  11.1v 3300mAh Lipo Battery 11.1v 25c 3300 MAh Lipo Battery with Deans Plug for RC Car Boat Truck Helicopter Airplane
 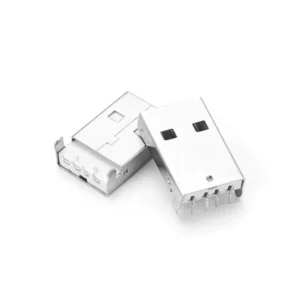 USB Type-A Male PCB R/A Connector USB 4-Pin Male Connector USB A-Type Plug Male PCB Mount Right Angle
Reviews
There are no reviews yet.