


Description
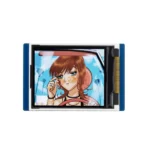
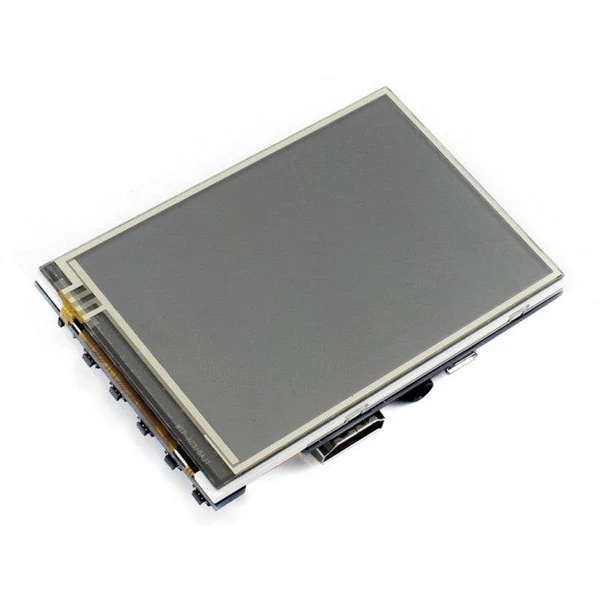
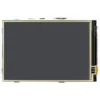
- 3.5inch IPS screen, 480 x 320 hardware resolution, which can be set by the software (up to 1920×1080).
- Resistive touch control.
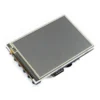
- Compatible and Direct-connect with any revision of Raspberry Pi. (If you are using a Raspberry Pi Zero / Zero 2 W, an additional HDMI cable is required.)
- Supports Raspberry Pi OS / Ubuntu / Kali and Retropie systems.
- Also works as a computer monitor, in this case, the touch panel is unavailable and HDMI cable is required.
- When only used for display, does not occupy any I/O resources (using touch function will occupy I/O resources).
- Multi-languages OSD menu, for power management, brightness/contrast adjustment, etc.
- Supports HDMI audio output.
Description :
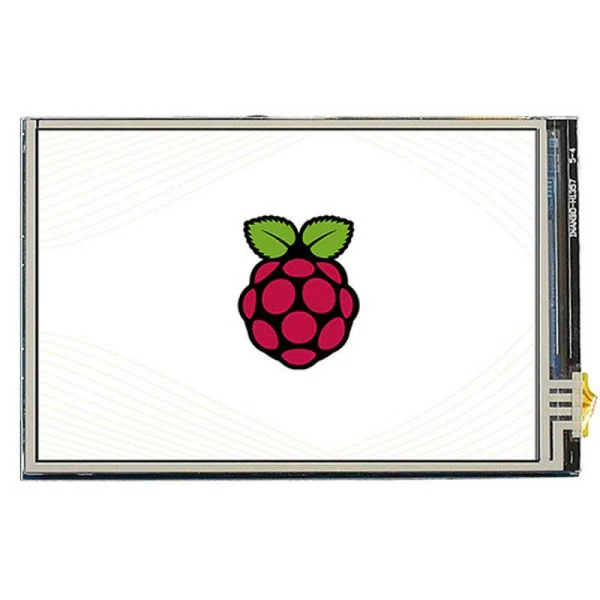
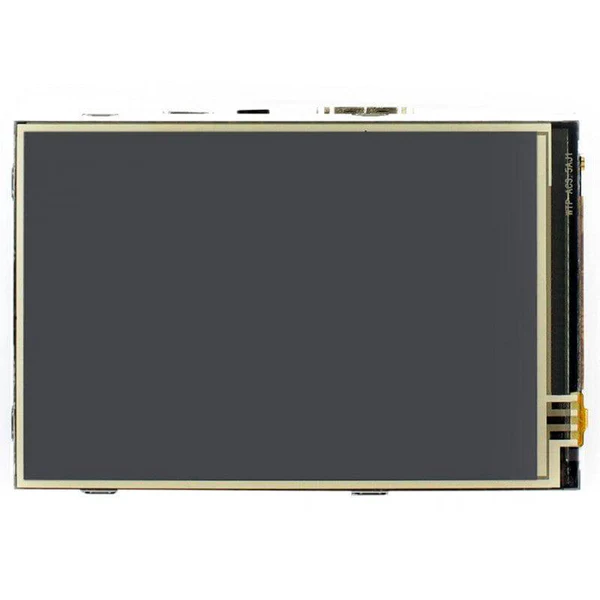
480 x 320, 3.5inch Resistive Touch Screen LCD, HDMI interface, IPS Screen, Designed for Raspberry Pi.
Features
- 3.5inch IPS screen, 480 x 320 hardware resolution, which can be set by the software (up to 1920×1080).
- Resistive touch control.
- Compatible and Direct-connect with any revision of Raspberry Pi. (If you are using a Raspberry Pi Zero / Zero 2 W, an additional HDMI cable is required.)
- Supports Raspberry Pi OS / Ubuntu / Kali and Retropie systems.
- Also works as a computer monitor, in this case, the touch panel is unavailable and HDMI cable is required.
- When only used for display, does not occupy any I/O resources (using touch function will occupy I/O resources).
- Multi-languages OSD menu, for power management, brightness/contrast adjustment, etc.
- Supports HDMI audio output.
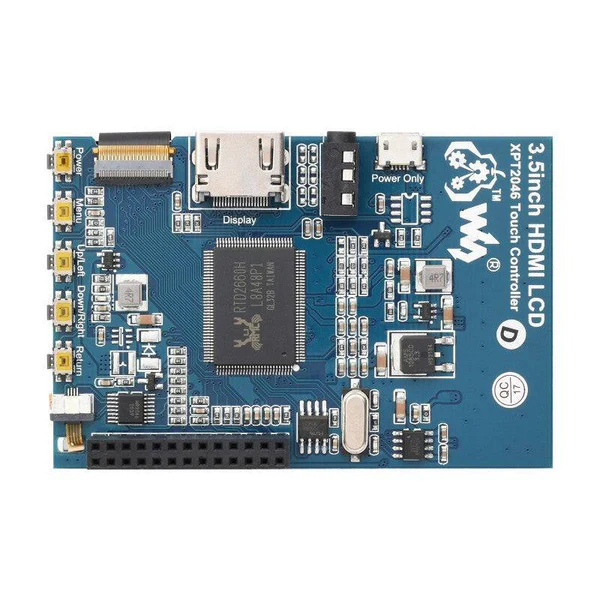
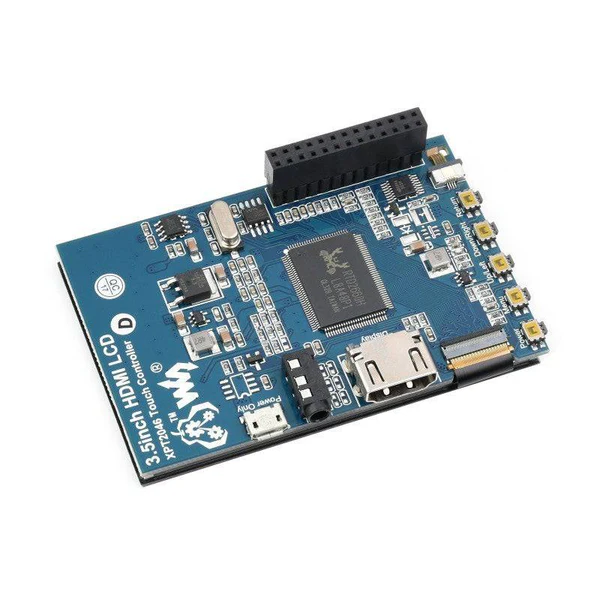
Hardware Connection
1. Connect the GPIO interface
Raspberry Pi leads out 40 GPIO pins, while the screen leads out 26 pins. When connecting, pay attention to the corresponding pins and Raspberry Pi pins.
2. Connect the HDMI connector to the HDMI port of the screen and the Pi.
3. Turn the Backlight on the back of the LCD to “ON”.
Note: Raspberry Pi Zero / Zero 2 W needs an additional HDMI cable for connection.
The hardware connection is as shown below (Pi 4 and Pi 3B+):
Software Setting
This LCD can support Raspberry Pi OS / Ubuntu / Kali / Retropie systems.
Please download the latest version of the image on the Raspberry Pi official website.
1) Download the compressed file to the PC, and unzip it to get the .img file.
2) Connect the TF card to the PC, use SDFormatter software to format the TF card.
3) Open the Win32DiskImager software, select the system image downloaded in step 1, and click ‘Write’ to write the system image.
4) After the image has finished writing, open the config.txt file in the root directory of the TF card, add the following code at the end of config.txt, then save and quit the TF card safely.
hdmi_group=2
hdmi_mode=87
#Display with 800*480 resolution
hdmi_cvt 800 480 60 6 0 0 0
#Use 480*320 resolution display, you need to add the following 3 lines of code
#hdmi_pixel_freq_limit=20000000
#hdmi_cvt 480 320 60 6 0 0 0
#hdmi_drive=1
dtoverlay=ads7846,cs=1,penirq=25,penirq_pull=2,speed=50000,keep_vref_on=0,swapxy=0,pmax=255,xohms=150,xmin=200,xmax=3900,ymin=200,ymax= 3900
5) Insert the TF card into the Raspberry Pi, power on the Raspberry Pi, and wait for more than 10 seconds to display normally. But the touch is abnormal at that time, and the touch needs to be calibrated as the following steps.
Note: Raspberry Pi OS Bullseye branch system, since dtoverlay=vc4-kms-v3d is loaded by default, it is invalid to modify the resolution in /boot/config.txt. If you need to modify the resolution, you need to change it to dtoverlay=vc4-fkms -v3d.
Touch calibration
The display can be calibrated via xinput-calibrator.
1. Execute the following command to install the relevant software:
sudo apt-get install xserver-xorg-input-evdev xinput-calibrator
If the execution fails, you can check here#Some possible problems
2. Execute the following commands:
sudo cp -rf /usr/share/X11/xorg.conf.d/10-evdev.conf /usr/share/X11/xorg.conf.d/45-evdev.conf
sudo nano /usr/share/X11/xorg.conf.d/99-calibration.conf
Add the following code to 99-calibration.conf:
Section "InputClass"
        Identifier      "calibration"
        MatchProduct    "ADS7846 Touchscreen"
        Option  "Calibration"   "190 3991 243 3895"
        Option  "SwapAxes"      "0"
        Option "EmulateThirdButton" "1"
        Option "EmulateThirdButtonTimeout" "1000"
        Option "EmulateThirdButtonMoveThreshold" "300"
EndSection
3. After reboot, touch will work normally under normal circumstances. But for different resistance screens, the accuracy of using the default calibration parameters may not be very suitable.
You can perform touch calibration by clicking the Raspberry Pi icon on the taskbar, selecting Preferences -> Calibrate Touchscreen, and following the displayed prompts.
4. After calibration, the following data will be displayed. If you want to save these touch values, you can replace the data in the red circle with the data in the corresponding position in 99-calibration.conf.
Package Included:
- 3.5inch HDMI LCD x1
- HDMI to micro HDMI connector x1
- HDMI connector x1
- Stylus x1
- Aluminium heat sink x1
- Quick start sheet x1


 Assorted Electrolytic Capacitor Kit 200pcs 0.1-220uF 15 Value Electrolytic Capacitor Assortment Box Kit
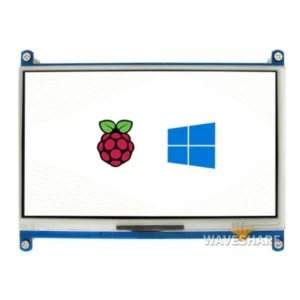
 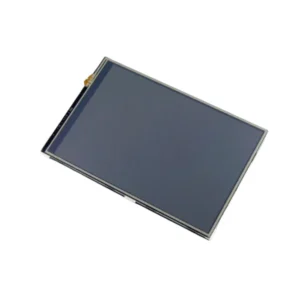 Waveshare 4 inch LCD 10.16cm RPi LCD (A) 480x320 Raspberry Pi Display
  Bambu Lab A1 3D Printer Combo AMS lite
  100pcs 10 Values 500ohm-1M ohm Film Variable Resistor Potentiometer Rheostat Trimpot Assortment Kit
  1.8 inch LCD Display Module ST7735 Driver TFT 128x160 4 IO LCD Display Arduino Compatible LCD Microcontroller Compatible LCD
 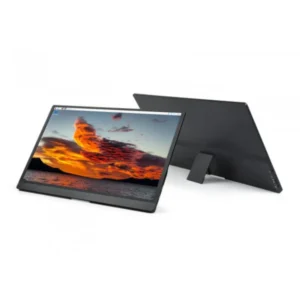 Waveshare 15.6" Full HD IPS Monitor 100% sRGB Color Accuracy, 1920x1080 IPS Display, Slim Profile With Adjustable Stand For Stunning Clarity
  GT2 Timing Belt 10M GT2 Width 6mm Black Open Timing Belt For 3D Printer
 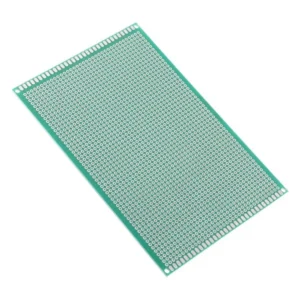 Single-Sided 2.54mm Hole Pitch FR-4 PCB Tinned BoardSingle-Sided 10x15cm Universal PCB
  MK8 3D Printer Hotend Extruder Kit, 24V 40W MK8 Assembled Extruder Kit for Ender 3 PRO Compatible with Creality CR Series/Ender Series with Aluminum Heating Block 1.75mm, 0.4mm Nozzle (Red)
  0.4mm 3D Printer Nozzle 0.4mm MK8 M6 Nozzle 3D Printer Nozzles
 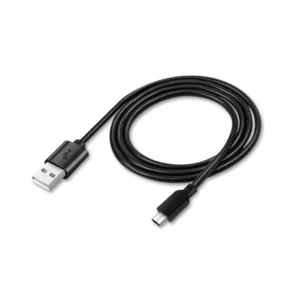 USB to Micro USB Cable USB A Type to Micro USB B Type 1M Cable (Colour May Vary)
  Raspberry Pi 4 Model-B 2GB SDRAM Raspberry PI 4B SBC IOT Board - Broadcom 1.5GHZ A72 Processor
 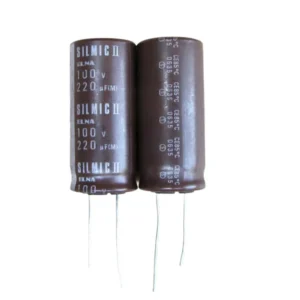 220uF 100V Elna Silmic ARS Audio Capacitors
 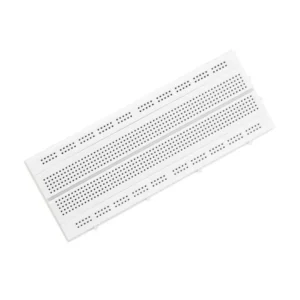 GL12 High Quality Nickel Plated 840 Points Bread Board or Solderless Pieces Circuit Test Board, White
 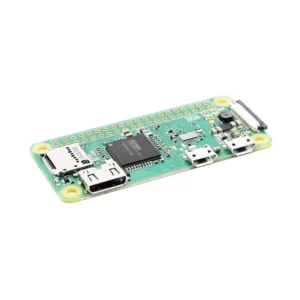 Raspberry Pi Zero W Development Board with Built-in WiFi & Bluetooth (802.11 b/g/n wireless LAN Support Bluetooth 4.1 and Bluetooth Low Energy-BLE )
 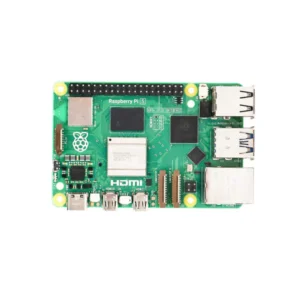 Raspberry Pi 5 Single Board Computer with 2.4GHz quad-core, 64-bit Arm Cortex-A76, and LPDDR4X-4267 SDRAM 8GB
 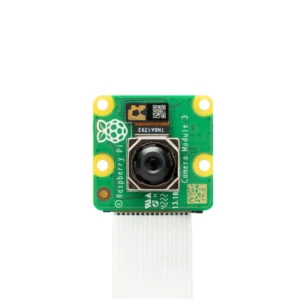 Raspberry Pi Camera Module 3 with 75°/ 120° 12mp Sony IMX708 Image Sensor
  EU Plug Universal Battery Charger Single Cell Battery Charger For 18650, 16340, 14500, Li-ion Rechargeable Battery Charger
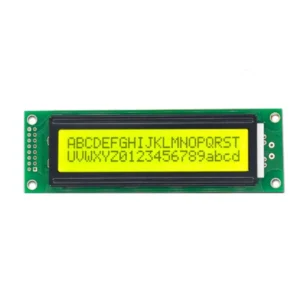
 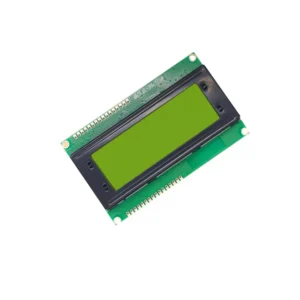 20×4 LCD Display 20×4 Character LCD Display with Yellow Backlight - Alphanumeric
  Generic Micro Endstop Switch Micro Switch Mechanical End Stop AC 250V 5A SPDT Miniature NO/NC Switch For Reprap 3D Printer/CNC/DIY
  Radiolink R8FG RC Receiver 2.4Ghz R8FG V2.1 3ms Latency 8 Channels Gyro Receiver with Voltage Telemetry, Waterproof RX for RC Crawler Car Boat Radio Controller RC8X/RC6GS V3/RC4GS V3/RC6GS V2/RC4GS V2/T8FB/T8S
 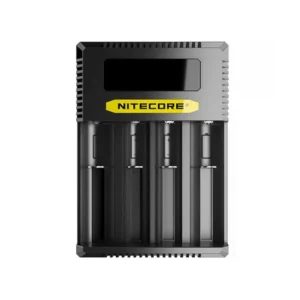 Nitecore Ci4 USB-C 4-Slot Battery Charger Li-ion Battery Charger With Intelligent Charging and Real-Time Monitoring For Efficient Power Management
  EMAX Bullet Series 35A ESC (BLHELI_S) with Oneshot (Original)
  KK2.1 Flight Controller KK2.1 Multi-rotor LCD Flight Control Board With 6050MPU And Atmel
  Readytosky 80A 2-6S Brushless ESC 2-6S Brushless Electronic Speed Controller (ESC) High Power 80A ESC For FPV Racing Drones and Quadcopters
  Radiolink M8N TS100 GPS Module Compass Module High Positioning Accuracy for Flight Controller DIY RC Drone FPV
  5400mAh Lipo Battery 14.8V 5400mAh 4S 30C Lithium Polymer Battery
 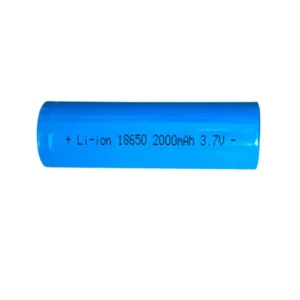 2000mAh Rechargeable Battery 18650 2000mAh Cell 18650 Li-ion Battery 2000mAh 18650 Battery 18650 Rechargeable Cell High-Capacity 18650 Li-ion Rechargeable Battery 18650
  GX-16 Metal Aviation Plug GX-16 4-Pin Metal Aviation Plug Male and Female Panel Connector
 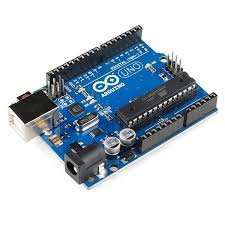 UNO R3 Development Board Arduino UNO Compatible R3 Microcontroller Development Board compatible with Arduino IDE
  Bambu Lab P1S Combo P1S 3D Printer and AMS
  Daisy White PLA PRO+
  ARDUIN0 Nano V3.0, Nano Board ATmega328P 5V 16M Micro-Controller Board with USB Cable
Reviews
There are no reviews yet.